I know that the weather is still soooooo hot out, but I am thinking Fall and beyond. This week I have been working on pumpkins, pumpkins and more......
You know, one thing about moving.....you find you how much stuff you have. I have always professed to being a craft hoarder, but when I moved a box of 1000 paint sticks, I knew it was bad. So I went to work on finding some uses for them. Ornaments have always been a great seller at shows for me and I made these a few years back. Since I am in a new area, I thought, maybe everything old is new again, isn't it?
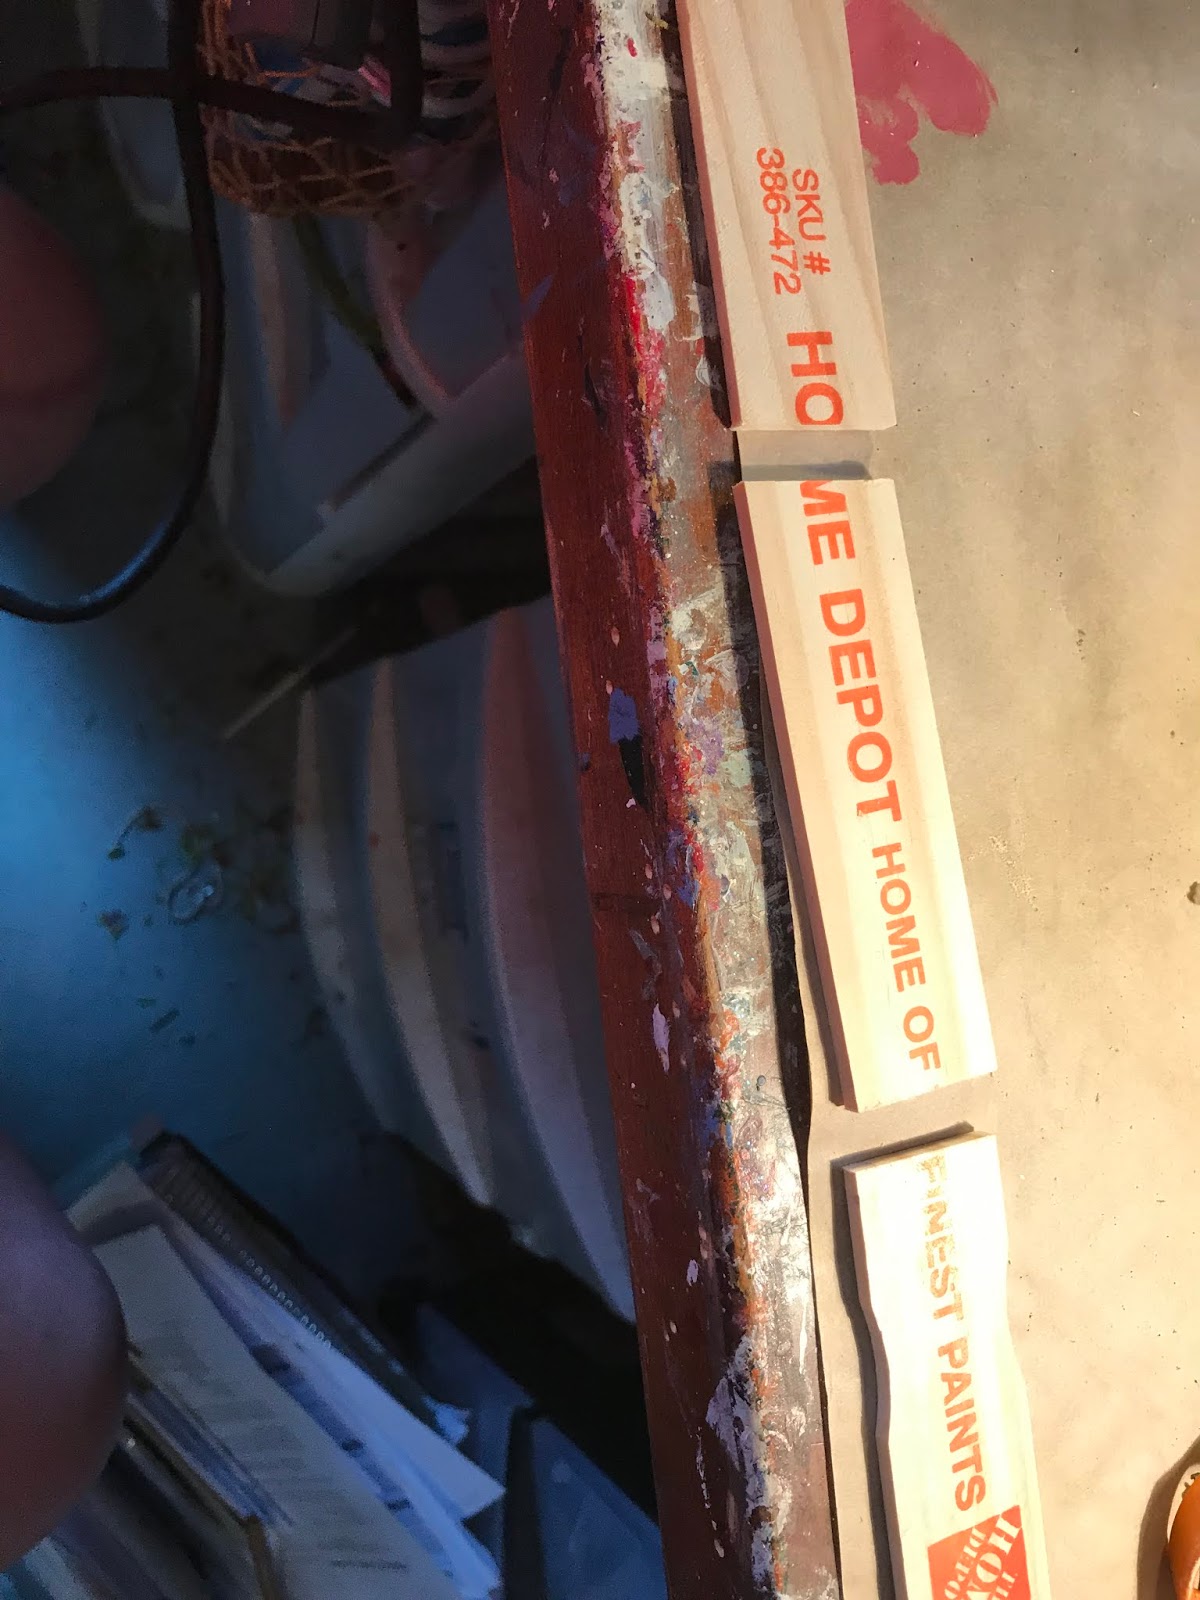
Let me show you how to make these super cute little ornies. First, cut the paint stick into pieces. I cut 2 pieces 4" long on the straight part of the stick. The piece that is curved is a bit less than that. After I had cut a few, I knew to cut between the O and the M and right before the F on finest. Sort the pieces, straights and curves
On the curved pieces drill two holes as shown. I stacked three or four on top of each other before drilling. Set these aside for another project.
And I used the teeniest bit I could find.
On the straight pieces I drilled two holes on the horizontal side as shown. Also note that I am drilling over the edge of the table so I don't put any holes in my table top.
Paint whatever color you choose. I used an espresso brown. Be sure to cover the edges. Acrylic paint dries pretty fast so if you are doing several, one side is probably dry by the time you get them done so you can flip them over. Always paint the back! It just looks tacky and unfinished if you only paint the front of a project. Print off your sayings. I used a brown card stock. You can use whatever paper you want. I got my sayings from:
HERE You can also read thru her tutorial. I just changed mine up a little. You can make your own wording as well. Just be aware if you use the ones that I did, they are actually used for the larger paint sticks. I cut mine inside of the cutting lines and they fit fine.
Next coat one side with Mod Podge. I love these little bottles that you can get either at Target or Dollar Tree for $1 because they won't dry out like the large bottles sometimes do. Any ModPodge will work but I used glossy. I applied with an old ratty brush generously. Be careful that you use enough to hold the paper down but not so generously that it leaves lumps or dries in a glob. Even tho it dries clear, it still will be a clear glob if it is on too thick.
Put your paper or cardstock down on the Mod Podged stick. Center the best you can. Don't worry if you cover the holes. I rolled the wooden handle over the cardstock to make sure it was down smoothly.
Once dry, add another layer of ModPodge to the outside edges where the wood meets the cardstock. While still wet sprinkle glitter over . If you want to put some on the cardstock, you can. Just be careful that you can still read the words. You can also spray some glitter blast over the entire project.
Let dry completely.
By now you may have covered up or otherwise filled in the holes that you drilled. I used a heavy upholstery needle to clean out the holes. Cut wire to put thru the holes, back to front. I cut mine about 9 inches long. Bend the wire and using a pair of needle nosed pliers, twist into a circle as shown in this pic.
Add embellishments. I used little pieces of greenery and an assortment of pip berries, bells, buttons, ornaments.
These will also be fun to make with Christmas paper on red paint sticks. I think I will try something like that next. You could also be creative and put names on the ornaments or dates. Get creative! I would love to see what you do.


No comments:
Post a Comment
Leave me a comment, a thought, or a giggle!